INTRODUCTION
We are learning how to integrate swagger in your spring boot application. How swagger help to maintain the API documentation with details about the endpoints, functions, classes, return types, arguments,
What is Swagger ?
Since Swagger UI offers an online sandbox for front-end developers and a full framework implementation for creating the visual representation of RESTful Web Services, it is frequently used for visualizing APIs. A consumer can comprehend and interact with a remote service when it is correctly specified using Swagger and requires little implementation logic. When using your API, third parties want to integrate as soon as feasible in order to advance with their software creation.
How swagger used in Documenting the APIs ?
Developers can add information to an API service using Swagger, which subsequently generates documentation in a variety of formats, including JSON, YAML, and fully readable HTML. The documentation does not need to be updated by developers. Swagger does that for you!
How to Integrate Swagger 2 ?
Step 1 : Create spring boot project using Spring Initilizr (https://start.spring.io/)
Step 2 : Add below maven dependency
<dependency>
<groupId>io.springfox</groupId>
<artifactId>springfox-swagger2</artifactId>
<version>2.7.0</version>
</dependency>
<dependency>
<groupId>io.springfox</groupId>
<artifactId>springfox-swagger-ui</artifactId>
<version>2.7.0</version>
</dependency>
Step 3 : To enable swagger in your application use annotation @EnableSwagger2 in your main class.
@EnableSwagger2
@SpringBootApplication
public class DepartmentServiceApplication {
public static void main(String[] args) {
SpringApplication.run(DepartmentServiceApplication.class, args);
}
}
Step 4 : Create a separate config class.
@Configuration
@EnableSwagger2
public class SwaggerConfig {
@Bean
public Docket SwaggerApi() {
return new Docket(DocumentationType.SWAGGER_2)
.select()
.paths(PathSelectors.ant("/api/*"))
.apis(RequestHandlerSelectors.basePackage("com.department"))
.build();
}
}
The Docket bean should then be created inside the configuration class. We also need to include the path to our base package inside the docket. The Docket bean is the major focus of the Swagger configuration. Swagger uses an object called a docket to generate the documentation. It has all the customizable properties you provide.
Step 5 : Create a controller class.
@RequestMapping("/api/departments")
@RestController
public class DepartmentController {
@Autowired
private DepartmentService departmentService;
@GetMapping("{id}")
public ResponseEntity<Department> getDepartmentById(@PathVariable("id") Long departmentId){
Department department = departmentService.getDepartmentById(departmentId);
return ResponseEntity.ok(department);
}
@GetMapping("/email")
public void getEmailId() {
return;
}
Step 6 : Run the spring boot application.
Your project run at port number 8080.

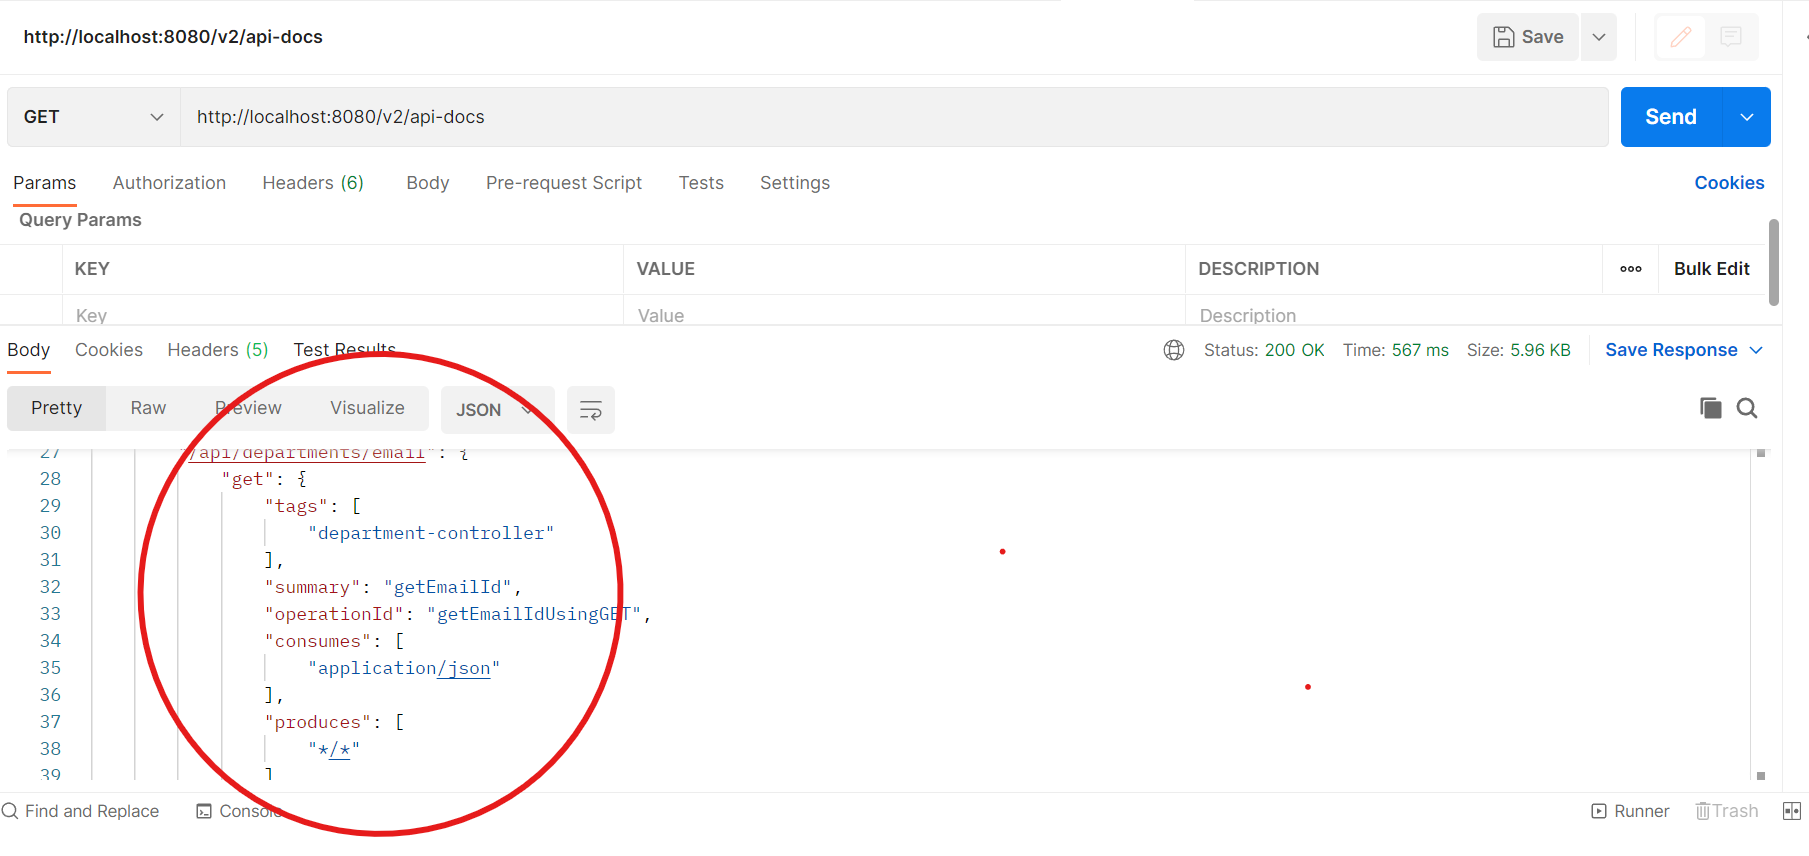
Step 7: Send the below API in postman.
http://localhost:8080/v2/api-docs
Response :
Enable Springfox's swagger ui.
You need to add below dependency in pom.xml of your project.
<dependency>
<groupId>io.springfox</groupId>
<artifactId>springfox-swagger-ui</artifactId>
<version>2.9.2</version>
</dependency>
You will get swagger-ui using below URL.
http://localhost:8080/swagger-ui.html/. Or you can directly login to swagger-ui (https://app.swaggerhub.com/) and import your API documentation.

Conclusion :
Swagger is thus used in an easy way for API documentation. Swagger may be used to integrate third-party request and response to help you comprehend the api documentation. Additionally, swagger's assistance in maintaining API documentation, which includes information about endpoints, functions, classes, and return types, was demonstrated.
Useful Links :

0 Comments
Post a Comment